Wiring diagram in the garage
To get started, we provide you with detailed instructions for creating a DIY scheme:
- The first thing to do is to count the number of outlets, lights and switches in the room.
- Next, you need to consider the installation height of each element. For example, sockets are recommended to be installed at a height of 1 meter, switches at a height of 1.5 meters, a junction box under the ceiling (20 cm from the ceiling).
- After that, the intended transfer to paper is carried out. It is best to use a photocopy of the garage plan, as in this documentation all room sizes are precisely observed.
That, in fact, is all that you need to know in order to draw a wiring diagram do it yourself!
We draw your attention to the fact that if a viewing hole is provided in the room, sockets and switches must be moved outside it, for safety reasons, as it’s always damp in the pit.
Below you see a typical version of a garage electrical panel with wiring for 380V (three phases) for connecting machines or a compressor and main wiring for 220V. Considering the automatic machine for connecting a step-down transformer 220 / 12V:

And here is the wiring diagram in the garage for 220V:

One of the options for wiring in the garage:

Some explanations for the last option:
- To turn on different lighting groups, you can use a two-key switch or two one-key switches.
- In the inspection hole there is a separate safe lighting with 12V lamps, which is connected to a step-down transformer. Among ready-made solutions, pay attention to the STP.
- YTP is a box with a step-down transformer, which reduces the voltage of 220V to a safe 12. There are transformers of different capacities, in addition to it in the box there is a 12V socket and 2-3 circuit breakers to protect the mains and the power line to the load.
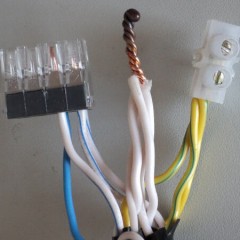
- The cross-section of wires and the number of cores are shown in the diagram, if you have garage grounding - use a three-wire cable, i.e. for sockets, for example, use VVGNG-LS 3x2.5.
- The electrical panel must contain circuit breakers (for each group of wires) and RCDs.
This is all I wanted to tell you about how to draw an electrical diagram of the garage electrical wiring with your own hands. We hope that the information was useful and interesting for you!