5 ideas for assembling New Year's garland
Idea # 1 - Into the 220 Volt Lamp Business!
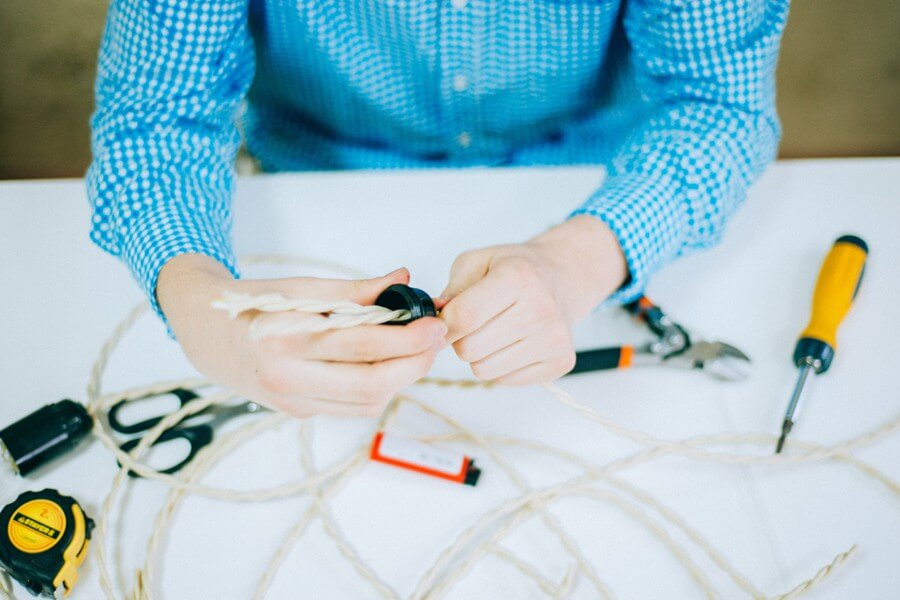
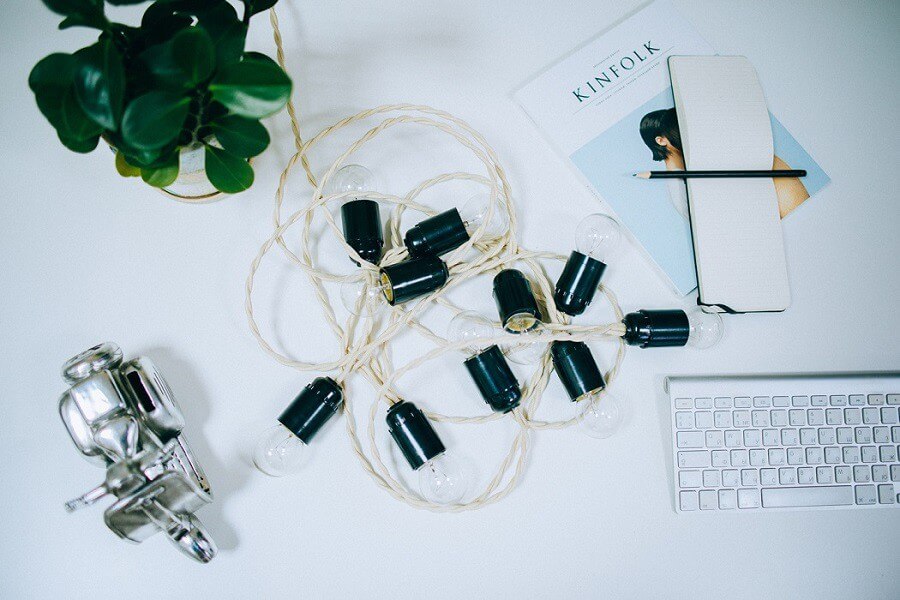
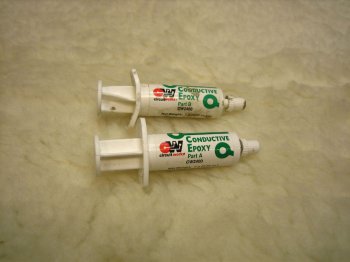
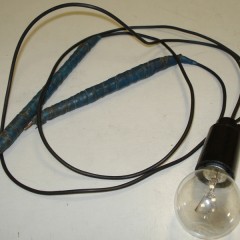
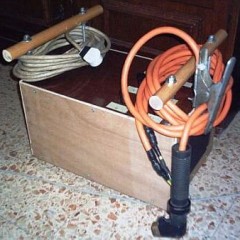
To your attention, the first and most interesting master class, which clearly shows how to make an electric garland with 220 V lamps. So, for a start, we prepare the following tools and materials (everything that is shown in the photo):

You need to stay a bit on the wire. It needs to be taken 6 meters. For example, a special decorative two-wire twisted wire was taken, but you can use an ordinary two-wire wire or two single-wire ones. It is advisable to choose beautiful wires in interesting braids, this will add a unique style to your product, which is very important for the New Year. It is necessary to choose a conductor cross section based on the number of lamps, that is, consumers. There is a detailed article about this on our website: https://my.electricianexp.com/en/raschet-i-vybor-secheniya-kabelya-po-toku-moshhnosti-dline.html.
We begin the assembly by cutting the conductor into 9 parts of 50 centimeters and the remaining piece, which will have a length of 150 cm. You can choose a different distance between the lamps, or between the plug and the first lamp, or change the number of lamps. This is the main advantage of a home-made garland - the ability to build it specifically for you. For example, according to the size of the room or wall section that you would like to decorate.

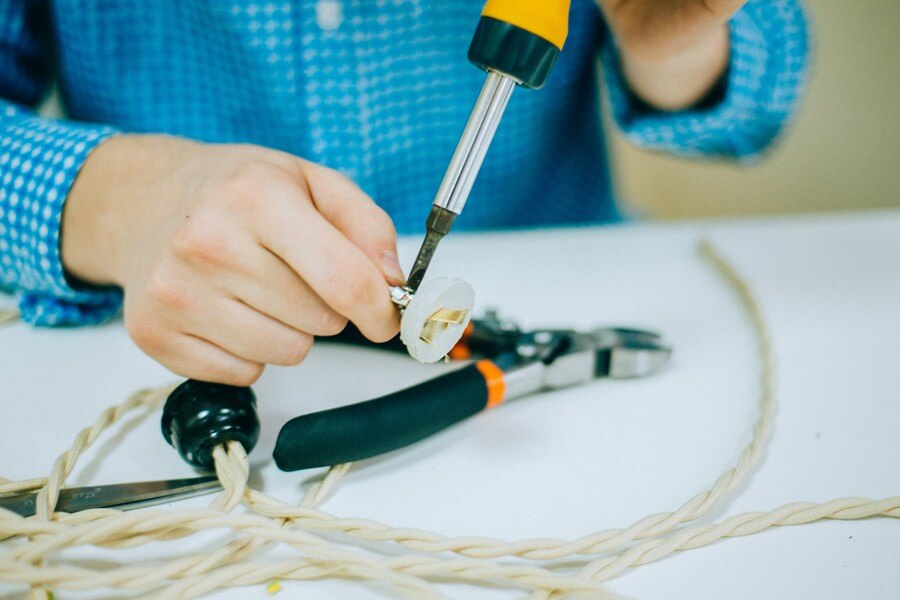
After that, we clean the ends, for which it is best to use a special wire stripping tool. To prevent the fabric braid from shrinking, we recommend that you burn it and then put on a heat shrink on the insulation edge for greater reliability and safety.


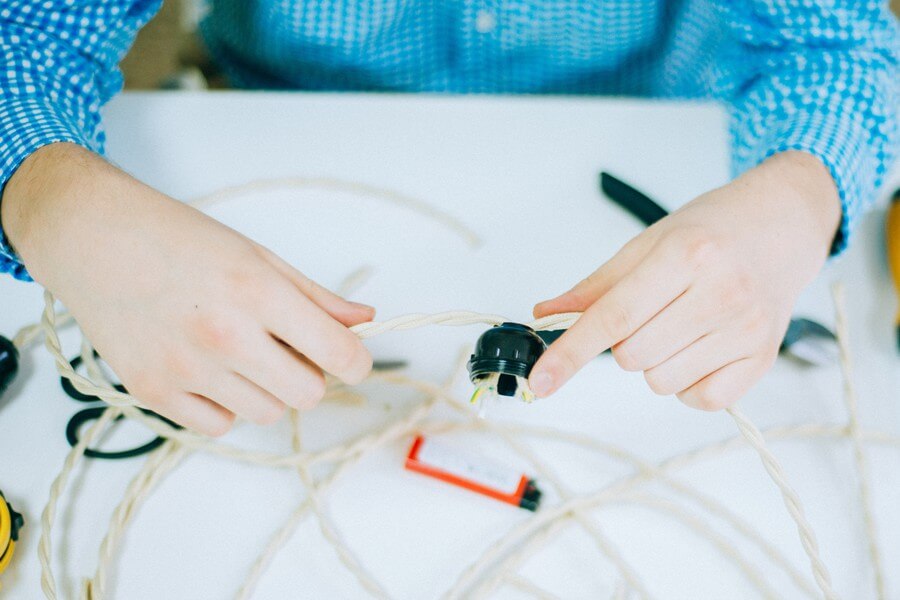
After that, you need to assemble the electric plug of a homemade New Year's garland, which will not be difficult even for an inexperienced electrician: you just need to tighten a couple of screws. To connect the plug, take a long length of wire, in our case it is 150 cm.

Unscrew the cartridges and proceed to the connection of 10 incandescent bulbs. Nessesary to use parallel connection of lamps in the manufacture of an electric garland of 220 volts. In this case, if one lamp burns out, the rest will continue to shine. You can also change the number of connected lamps.

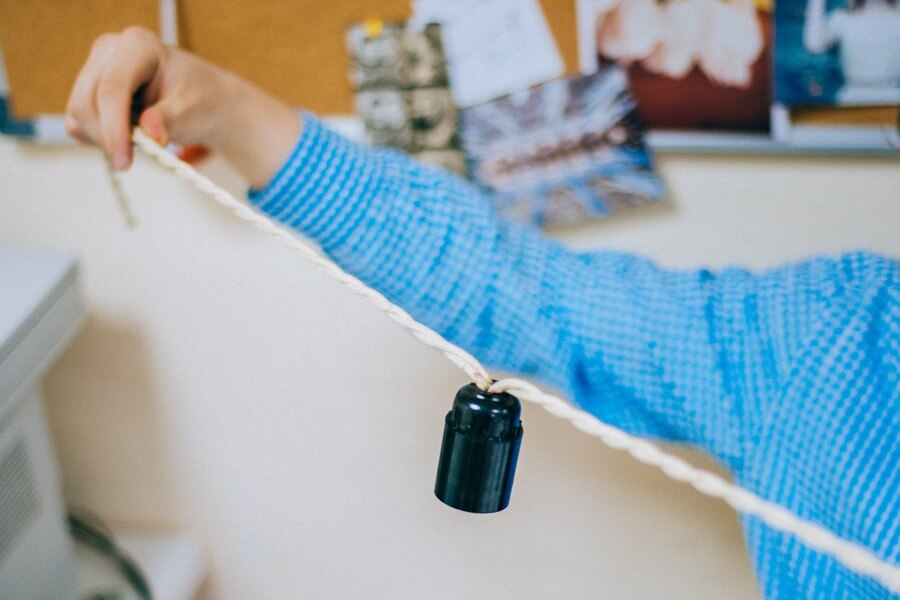
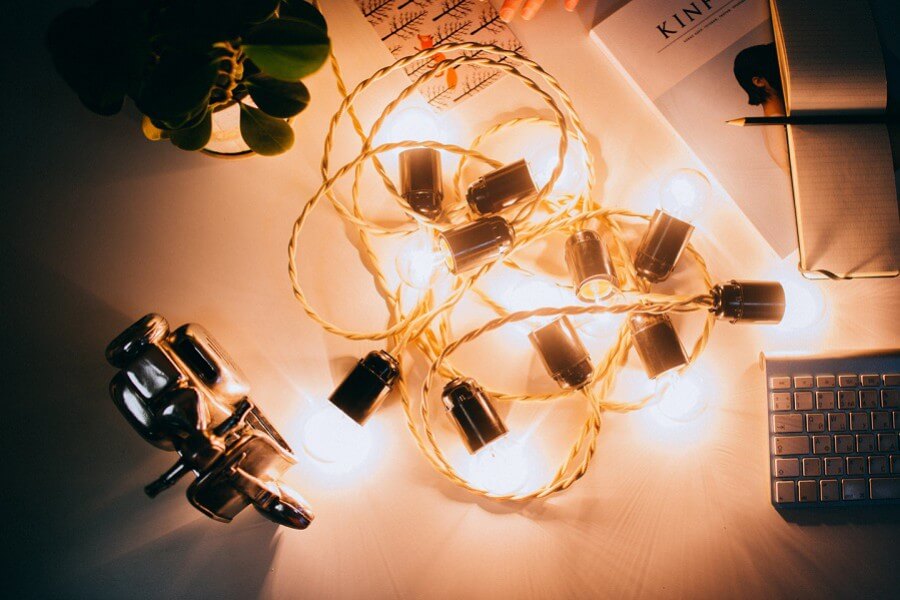
When all the cartridges are assembled in one circuit, it remains only to screw in the lamps and light the finished electric garland.Here, according to such a step-by-step instruction, you can make a garland for the Christmas tree yourself at home! As you can see, everything is quite simple and at the same time interesting!

By the way, you can also use a serial connection of bulbs. Only in this case you need to use incandescent lamps, the total voltage of which will be 220 V, for example: 20 pieces of 12 Volts or 40 of 6.
It is worth noting that incandescent lamps have extremely low efficiency and turn most of the energy into heat. Therefore, it is more advisable to use small LED lamps, they heat less and consume electricity, which will make your garland much more economical. Be careful and do not allow exposed sections of wire on your garland, it is under life-threatening mains voltage!
If any of the points was not clear, we recommend watching the video lesson:
Idea # 2 - Upgrading an Old Electric Garland
If you just don’t like what was shining on the Christmas tree last year, you can originally decorate the electric garland using ordinary paper coffee cups. Make a beautiful Christmas product is quite simple. To get started, prepare glasses, scissors, glue, scotch tape and scrapbooking paper.

After that, cut and unfold one of the cups, which will become a template for cutting a decorative wrapper. Cutting the blanks on the patterns, glue them on glasses, using glue or double-sided tape.

After that, at the bottom of homemade lampshades, we cut out a place for luminous bulbs and insert them there, securing the outside with a thin strip of adhesive tape.


That’s all - the electric garland is ready! In this way, you can coolly upgrade a regular LED garland for a Christmas tree and make it more elegant and festive! However, please note that it is not recommended to remodel the garland on incandescent lamps because of strong heating, which can lead to fire.
Idea # 3 - LEDs in business!
The third way, to assemble an electric garland for the New Year with your own hands, is to use 12-volt LEDs. To get started, prepare the bulbs, wire, 12v power supply, resistor, soldering iron, knife and sealant.

If you decide to make a 12-volt LED garland, first calculate the LED installation step. It is recommended to place them every 20 cm. Make marks on the wire and strip these places about 10-15 mm to connect the diodes.
Next, apply rosin to the bare veins and drip the solder with a soldering iron. Learn to solder wires it is possible according to our respective instructions. After that, solder the LEDs to the wires, observing the polarity. Determining it with LEDs will not be difficult, everything is indicated in the picture.


In the last turn, the resistor and power supply are soldered. Resistor It is calculated based on the type and power of the LEDs, for this there is a special calculator. When connecting the garland to the power supply unit, it is necessary to observe the polarity, otherwise the garland simply does not light up. By the way do-it-yourself soldering iron You can also without much effort using improvised means. We recommend you to watch another interesting master class in the video tutorial:
Idea No. 4 - Activate the old keyboard!
By analogy with the previous method, you can make a diode garland with your own hands, using an unnecessary keyboard. As you know, some keys are highlighted with 5 Volt diodes (for example, Caps Loсk). If you have a broken keyboard, disassemble it and carefully dismantle the bulbs from which you can assemble the simplest electric garland. Next, select the appropriate resistors and USB cable with which to connect. The circuit of the diode garland is as follows:

Solder the legs of the diodes (anode and cathode) need to black and red wires of the electric cord, in accordance with color coded. When everything is ready, insulate the exposed contacts and proceed to the tests of a homemade garland. You can feed such a garland with a voltage of 5 to 12 volts, while choosing the right resistor for each of the LEDs. In our case, the homemade product will be powered from a 220 V network through a charger, which will give a 5 V output. Note that the number of parallel-connected LEDs with resistors can be increased or decreased, as is the case with a garland on incandescent lamps.
In the video you can also see an example of how to make an LED garland at home:
Idea No. 5 - How to decorate the street?
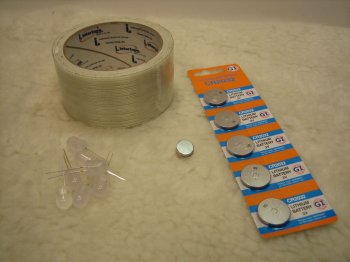
If you want to make a street garland on diodes for the garden, we recommend using this master class. First prepare all the materials listed:
- multi-colored diodes, with a diameter of 10 mm;
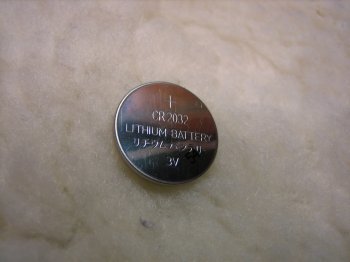
- lithium 3 volt batteries;
- thin tape;
- magnets with a diameter of 13 mm and a thickness of 30 mm;
- epoxy adhesive.
Next, you need to fix the legs of the diodes to the battery with glue. The anode (long leg) is attached to the plus pole, and the cathode, respectively, to the side with the “-” sign. When the glue seizes, additionally wrap the luminous diode with battery with tape.
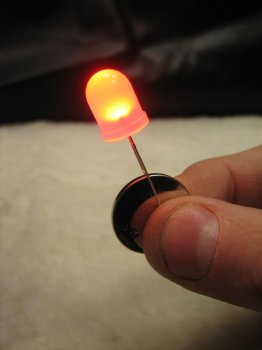

Attach a magnet to the positive pole of the lithium battery and wrap it with tape several times. Do this with 10-20 bulbs, and then fix them in convenient places on the street, for example, on the facade of the house with magnets. Thus, you can assemble the street electric garland from LEDs yourself. However, this design does not have a switch, and over time the battery will drain, which is not convenient, so that this does not happen, you can add a miniature switch to the circuit to break the circuit.

That's all the master classes that we wanted to demonstrate. We hope that now you know how to make a garland of bulbs and diodes with your own hands, because provided photos, videos and diagrams were pretty clear!
It will be interesting to read:


Hello!! Great way, thanks !!! Could you tell me how many incandescent lamps can be connected ?? will they go for 40 watts? and what section of wire do you need? Thanks in advance
Good day, Sergey! The quantity depends on which lamps you will use. If the bulbs are designed for a voltage of 220 volts, you can include in the circuit as much as the outlet pulls. For example, a conventional outlet is designed for a power of about 2.5 kW. Total, in parallel you can connect 60 40-watt lamps or 100 25-watt. However, note that the energy consumption will be like a powerful heater. If the bulbs are rated for 2.5 or 12 Volts, their number is determined as 220 / voltage of one lamp! The cross section of the wire also depends on the number and power of the bulbs. About, how to independently calculate the cable cross section, we told in our separate article!
I decided to re-solder the old sovdepovskoy garland of incandescent bulbs did not find suitable and replaced with LED. and they barely shine can say in no way the reason
What voltage are the LEDs designed for?
If ordinary LEDs, then the resistor is not more than 1k. For incandescent bulbs, it is definitely more, that's the point.