How to repair a chandelier yourself?
Step 1 - Checking the Bulbs
The first thing to do before repair is to look at the integrity of the tungsten filament (if incandescent lamps are installed). To do this, simply unscrew the bulb from the cartridge and look in the light for a visible break, as shown in the photo below. If the thread is intact, this does not mean that the light bulb is working. In this case, you need to additionally check the lamp with a tester (multimeter) for an open circuit. All you need to do is fix one probe on the thread of the base and the second on the end of the light source. If the arrow twitched on the tester’s dial, the bulb is intact and you’ll have to go to a more serious repair of the chandelier with your own hands. The arrow did not move - the lamp is faulty and you just have to replace it with a new one.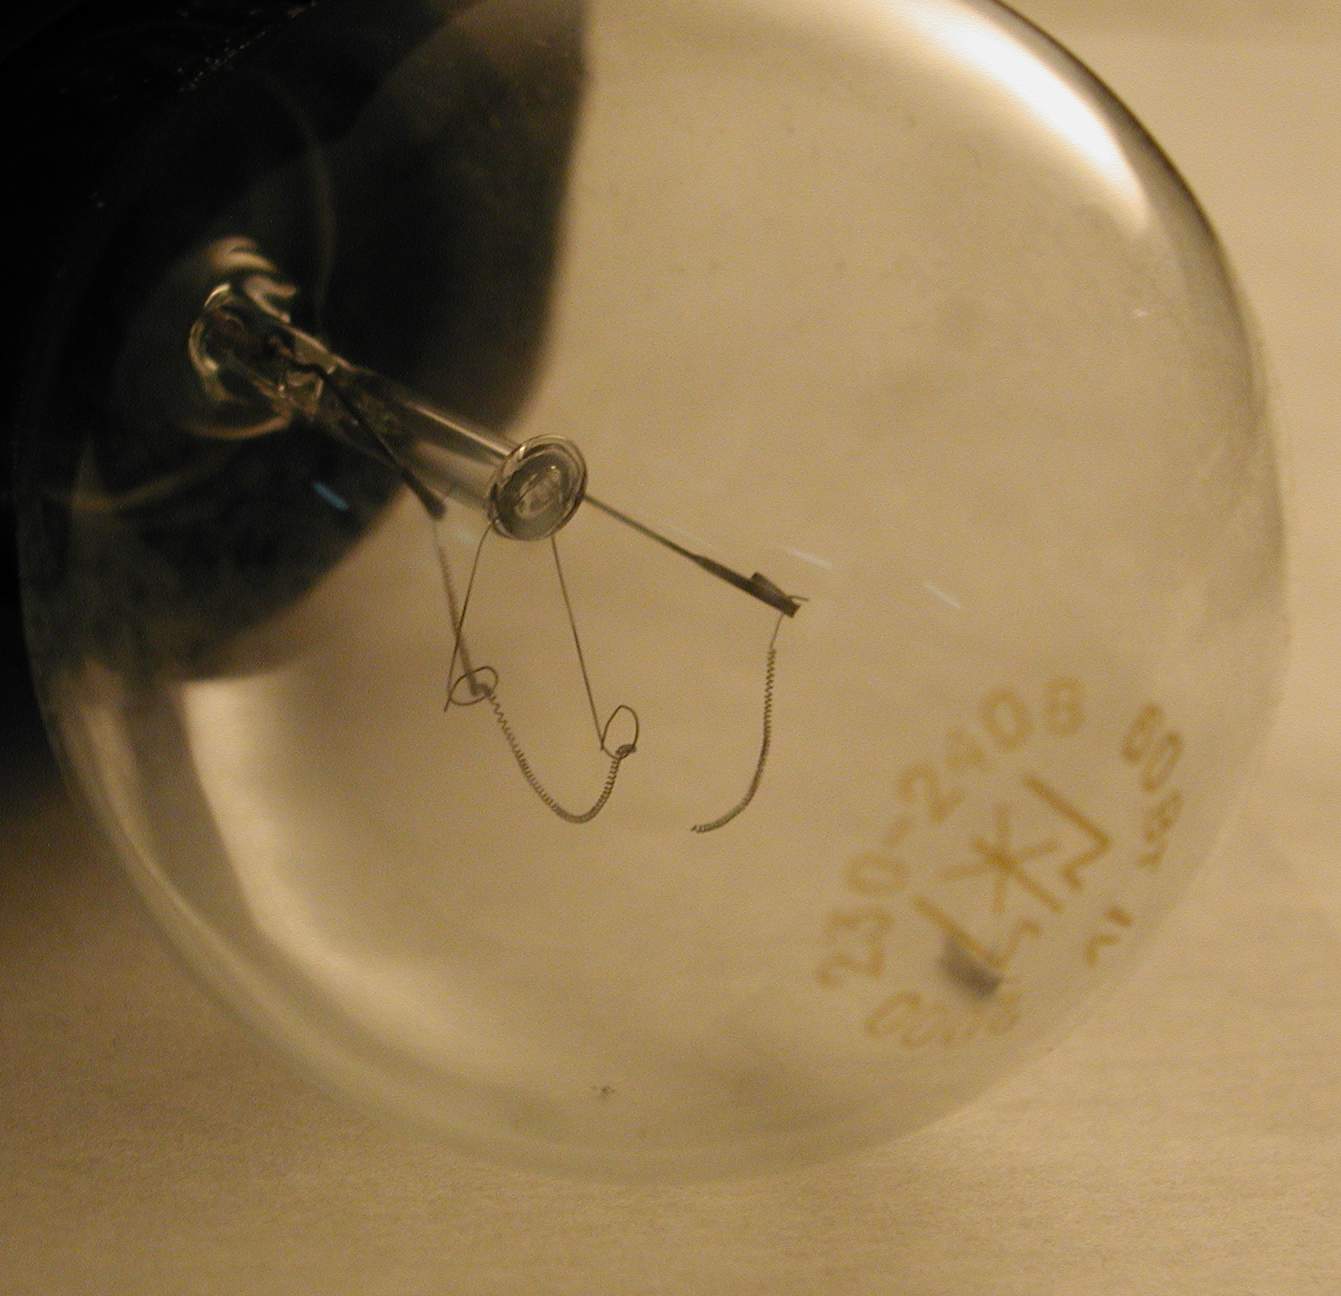
If the LED chandelier does not work for you, then checking the LEDs comes down to calling them with a tester, perhaps one in the serial circuit has burned out, as a result of which the entire lamp that you are going to repair with your own hands does not light.The bulbs are whole, but the chandelier does not light when turned on? We move on, because There can still be many reasons, and therefore repair methods!
Step 2 - Disassemble the light switch
If the ceiling light stops working and the bulbs are working, you need to check the light switch, because sometimes contacts burn out in it, as a result of which current does not flow to the lampholders. Disassemble the light switch quite simply, we talked about this in the corresponding article. After that, you need to visually view the wires at the input and output from the housing and the contacts themselves in the form of a hemisphere. If necessary, for repairs you only need to clean the contacts to a metallic color and assemble the case, and then carry out a check.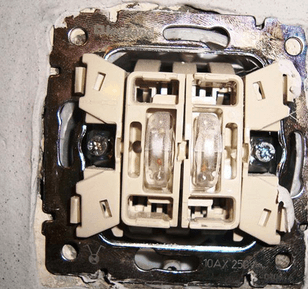
By the way, if you have a chandelier with several lighting groups in your room and half of the lights stop burning, the problem may be in the two-key or three-key switch, on which the contacts are burned. Be sure to read the article useful in this case - how to repair a light switch.
In addition to visual inspection, it is necessary to check whether the voltage is suitable for the case and whether it goes further along the circuit to the chandelier. If there is voltage, it means that the switch is in good condition and a more complicated repair is needed, which we will talk about later.The voltage can be checked with a conventional indicator screwdriver - when the tip touches the terminal, the LED in the handle should light up.
Step 3 - Check the wiring
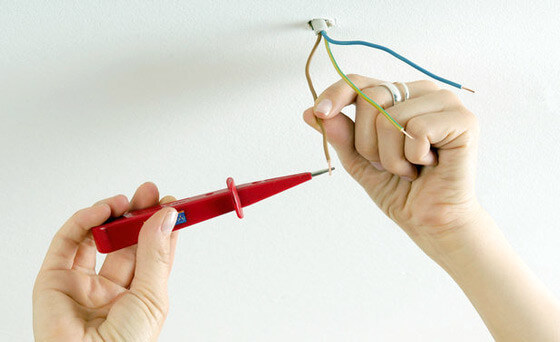
Moving on and slowly cutting off all possible causes of the malfunction, it is necessary to check whether the voltage is suitable directly to the chandelier, which is not lit. Here you already have to remove the lamp from the ceiling and open access to the wires removed from the junction box. Again, with a regular indicator, check if there is voltage, as shown in the photo.
 If the wiring is old, the aluminum wire may have broken, resulting in a broken contact. You can repair your wiring with your own hands in two ways - build up wire to connect to the lamp housing either replace wiring in the house to a new, more modern one. Nevertheless, we recommend that you consider the latter option so that similar problems do not arise in the future.
If the voltage comes from the junction box, but the chandelier does not light when the switch is turned on, then there is definitely a reason for it. Further we will tell you how to repair the lamp with your own hands at home.
Step 4 - Repairing the main “culprit”
So we came to the final part, which describes how to fix a chandelier on your own, which does not work. Everything is pretty simple here. If the lamp is ordinary (not LED), you need to disassemble the housing and check everything wire connectionsas well as the state of isolation. Perhaps there was a short circuit, as a result of which one of the wires burned out.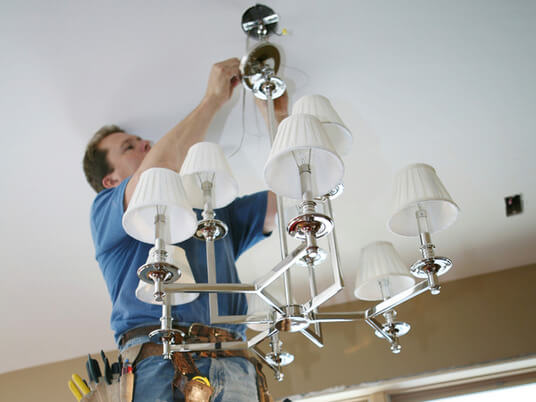
You should also check the cartridges into which the bulbs are screwed. Very often these circuit elements fail, and as a result, half of the lamps are off or one of all. In this case, especially if the products are Chinese, you need to replace the cartridge with a new one, which is clearly not difficult even for a novice electrician!
After such a thorough analysis and repair, the chandelier will most likely work. However, this instruction is suitable only for those conditions when the lamp is the most ordinary. And what if the chandelier with a remote control, LED or with halogen lamps? In this case, the repair is more complicated, which we will briefly discuss below!
So that you can clearly see how to repair a chandelier that does not light, we presented several video examples on repairing the most popular faults:
More about how to check the chandelier, we told in a separate article.
What else could be?
So, now we will consider the more rare causes of breakdowns and tell you how to repair a chandelier at home with your own hands, which is off, does not shine well, or shines only in one mode.
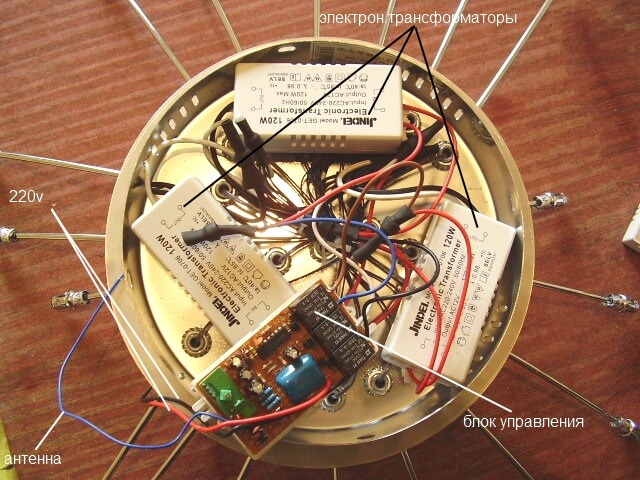
- If you have halogen or LED lamps installed in the lamp controlled by the remote control, then in the case you will find the control unit and electronic transformers, which can also fail, resulting in a situation where the lamps do not respond to the remote control and do not light up . In this case, the tester needs to ring all the elements of the circuit and, if necessary, replace the burnt transformer with a new one with the same parameters. You can find out how to repair this type of damage on the video provided in the gallery above.
- When repairing a crystal chandelier that does not shine, first remove all the decorative parts so that they do not break during dismantling or chandelier installation.
- If the bulb does not light up the first time, most likely the problem is in the switch, which must either be replaced or repaired using the technology that we described above.
- Notice that the LED bulbs began to flash after replacing the bulbs? The point here is not that the chandelier does not work, but that diode lamps cannot work with a dimmer if they are not of a special purpose (dimmable). Just try screwing in the old bulbs and checking if the light is on. If so, then the point is the LEDs.Immediately recommend reading the relevant article - why the LED lamps blink.
- If only one socket or one position is not lit, but the switch is whole, the matter is in the cartridges and the quality of the connection. We wrote about this above.

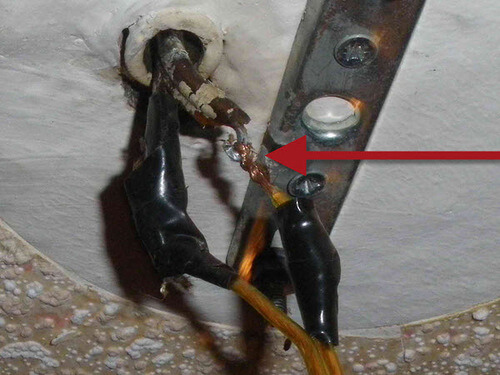
- Sometimes the cause of the breakdown may be a poor twist of wires (lead-in with a lamp, as shown in the photo below). As a result, twisted cores are weakened and the backlight in the room does not turn on or works poorly. If you have already decided to use this method of connecting the cores, find out how to make a good twist of wires do it yourself.
- You can identify a dead diode only with a tester. It won’t take much time, especially if you already have some knowledge of electrics.
- Sometimes a failure occurs due to the fact that you have chosen the wrong power of the bulbs. If the chandelier is designed, for example, for 3 bulbs of 60 W each, and you screwed 3 of 100 W each, it is likely that the malfunction is caused by this inattentive action.
- Fuses can be installed in the housing of modern fixtures, which break the circuit aftershort circuit, thereby protecting the entire internal circuit from burnout. In this case, the repair comes down to the fact that you need to find a fuse and replace it with the same (it costs cheap).

- If the chandelier breaks, it means that you hung it incorrectly (it was not securely fixed or you chose the wrong type of mount). The broken chandelier needs to be disassembled, checked visually, and then re-hung and reconnected, only to take care of a more reliable fastening.
That's all I wanted to tell you about the independent repair of ceiling lights. We hope that now you know what to do if the chandelier is not lit, and how you can repair the damage at home!
Similar materials:





Hello., Tell me if you can, what could be the matter, if when you turn on the chandelier (Chinese with remote control), the bulbs in the center flash quickly (about 2 times per second). and the chandelier does not turn on. What could be the matter, in the transformer or in the power supply?
Good afternoon. We replaced 4 incandescent lamps on the suspended ceiling (all on one switch, 30W each, E14 base) with 4 LED lamps (5.2W each, 4200K) - the light blinks on for a couple of seconds, then the switch buzzes and everything goes out. If there is one lamp, it either barely shines (like from a battery) or also flashes and goes out, but the switch with one lamp no longer buzzes. And when installing incandescent lamps there, they work perfectly! There are no regulators like dimmer, etc. Installed in a portable lamp, each individually shines perfectly ...
How obvious am I not an electrician myself 🙂 and I don’t understand how this system held 120W, but does not hold 20.8W ??? I would have disassembled the switch, but it is “cunning”, not removable (and, by the way, without diode illumination).
Illuminated switch. Therefore, part of the energy passes through the backlight. It is necessary to abandon the backlight or collect the blanking circuit. Or buy lamps in which the ability to work with such switches is indicated.
I saw that write that the switch is without backlight. Please indicate then the model of the switch.
Good afternoon! Two-button switch Wessen (it seems to have no fuses, etc.). It also turned out that if you put an incandescent lamp along with an LED, then everything starts to work normally, only the LED and the switch are barely audible, then there is no blinking.
Good afternoon, the contact disappeared, and the suspended ceiling. How to crawl to the main contacts.It is even more difficult that the wiring is aluminum. Thank.
In a halogen chandelier (Chinese with a remote control), the bulbs change, they light up, but not for a long time, they change their places with those that don’t do this and the situation repeats, is it a cartridge?
Probably yes.
In a halogen chandelier with a remote control, 6 of 11 light bulbs ceased to burn. The remaining lights are warm, they do not go into cold mode. It reacts to the remote control, it seems to switch modes. What to see, tell me please!
People, tell me, please, a cartridge with two short copper wires when connected to aluminum wires from the ceiling burns, but if you build up the wire, it stops. The contacts are normal, I tried different wires ...