How to properly make the fence lighting - instructions with photos
Step 1 - Choosing Lights
The first step is to choose street lights to illuminate the fence. The main requirements for flashlights are that they must be dustproof and waterproof. As for the design of the fixtures, here you have to decide which ones are best suited, based on the material of the fence and the style of a country house.
As a rule, low-cost models of lamps have a transparent plastic shade that protects the lamp from mechanical damage. In more expensive fixtures, glass shades are installed, which look an order of magnitude better and do not absorb light from the lamp so much.
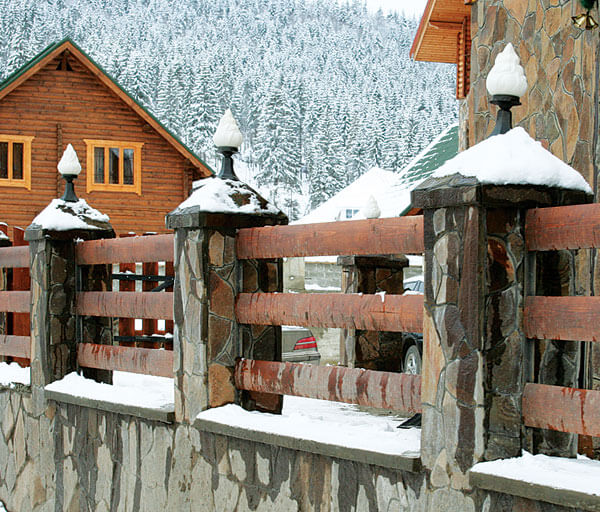
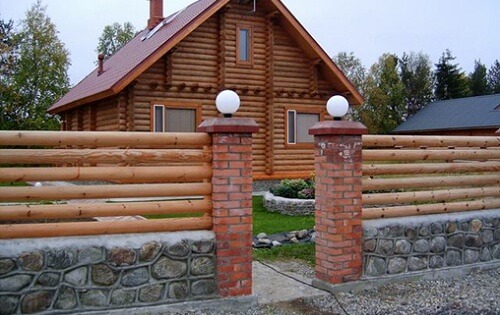
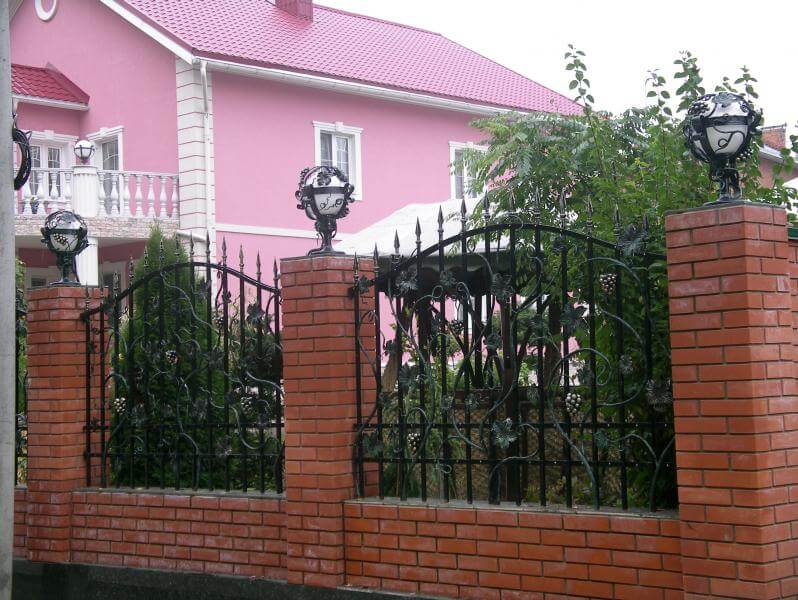
An important difference between the fixtures can be in the method of mounting - wall mounted or in the form of caps mounted on fence posts. In the first case, you need to carefully consider the way to install the brackets, in the second - just pick a model of a suitable size, as shown in the photo below.

Well, the last, no less important difference between the flashlights is the power option. Most often, lights for fencing operate from a 220 Volt network. Safer models are connected via a transformer and run on 12 volts. The modern solution is solar powered lightsthat do not require any connection at all and are powered by solar energy. Their main disadvantage is a weak glow and not too long duration of the backlight. A few hours after midnight, the lamps will burn dimly, or even go out altogether. The advantage of solar lights is that if you decide to bring the lighting to the fence with your own hands, you do not need to dig trenches, lay wires and do electrical work. It is enough to just install the product in a suitable place and by the evening the illumination of the fence will function.
Looking ahead, I would like to give another important tip on the choice of lamps for lighting the fence of a private house. If you opted for a model that connects to the network, make sure that the sealed terminal block is on the lamp housing. In this case, it will not be necessary to output junction boxes on each pole of the fence, which will also increase the reliability of the backlight.
Special attention should be paid to lamps. Today, LED bulbs are considered the best, which, although more expensive in price, but they save energy, are not afraid of the cold and have a fairly high strength compared to alternative light sources. If the budget does not allow you to buy LEDs, you can use halogen or incandescent lamps for street lighting of the fence.
Step 2 - Preparatory work
Well, if you decide to choose solar-powered flashlights, because in this case, simply install them on the supports.However, if you like the stationary version of the backlight, which will work from the network, then in this case you will have to bother a bit.
First you need to find out the following questions:
- Where will the fence lighting system come from?
- How will the backlight control be implemented?
- Where is it better to place the lights?
- Which wire should I choose for outdoor installation?
Immediately we will advise you on the best option for lighting the country fence. The lighting connection point is the distribution panel of a private house, onto which you need to bring out a separate automatic machine serving the lamps. You can control the lighting using the same machine or bring out another switch in the corridor or on the street (for example, if it’s convenient for you, then on the fence itself). However, the most reasonable option is connect photo relay, which will automatically turn on lighting when it gets dark, and turn it off at dawn. This is really convenient and most people use this option to control the lighting of the fence.
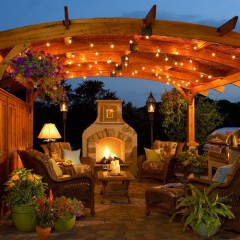
As for the lights, they must be placed next to the gate and the gates so that the lamps illuminate the entrance to the site and make safe movement at night. In addition, it is recommended to highlight the fence in places such as parking, a recreation area or even around the perimeter, if the budget allows.
The wire for street lighting must be at least 1.5 mm2. We recommend that you choose a three-core PVA wire or no less popular analogue - Ball screw. Also, for the installation of decorative illumination of the fence, you need a corrugation that will protect the wiring from adverse weather conditions. If the luminaire does not have a sealed terminal block (wires are simply routed), then you still need to purchase WAGO terminals and junction boxes.
Step 3 - Wiring
When you already draw up a lighting scheme with your own hands, and also buy all the necessary materials, you will need to proceed to the main process - connecting the lights of the fencing of a private house. All these works are recommended to be carried out at the stage of the fence construction in order to immediately provide for the place of cable laying in the trench and in columns.

The trench will need to be led from the distribution panel itself to the fence, along all the supports on which the lights will be installed. Be sure to place the cable in the corrugation, or even better - in the pipe, which will more reliably protect the backlight line from damage.
To each lamp on the fence, the wiring is connected approximately as in the diagram below:

Another installation option - fence cable routingwhat we talked about in detail in a separate article. Last produced circuit breaker connection, which will serve the lighting system of the fence of a private house. We draw your attention to the fact that making twists, which are further protected by electrical tape, is strictly prohibited. Such insulation of exposed contacts will be extremely unsafe - if water enters, the tape will unstick and occur short circuit.
When the entire circuit is mounted, check the finished backlighting of the guard. If you connected a photo relay, simply cover it with something and after a few seconds the lamps should light up.
And finally, the recommendation - we recommend making independent lighting of the fence with your own hands, by connecting a motion sensor. In this case, the lamps will light up only when movement occurs in the detection zone. If no one is at night near the fence, all lights will be turned off. In this case, the energy will be significantly saved, and if there are ill-wishers on the site, you will immediately know about it.
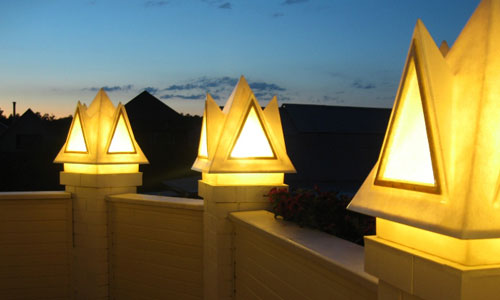
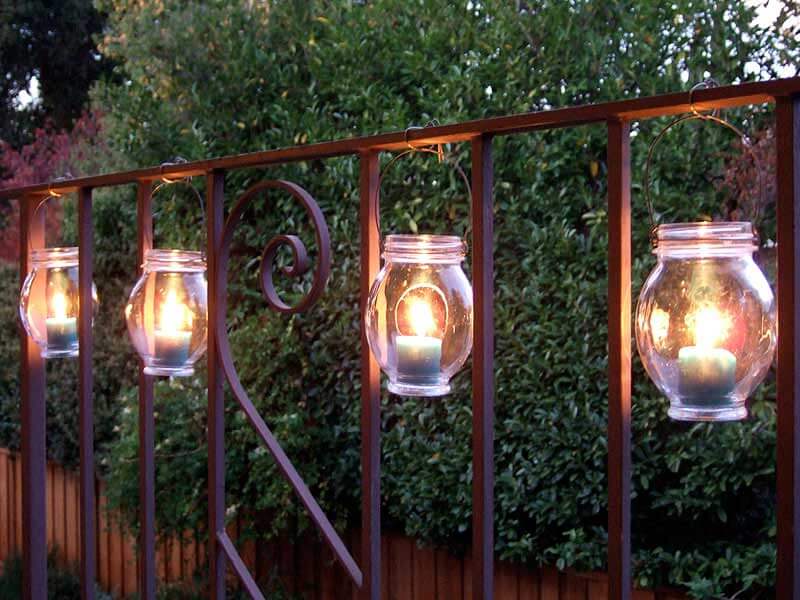
That's all I wanted to tell you about the lighting of the fence of a country house. We also recommend looking at photo examples of street fencing lighting to get inspired by ready-made ideas:
Also read:
- How to make a do-it-yourself LED spotlight
- Scheme of connecting the spotlight to the sensor and photo relay
- How to lay the cable underground